The TYPO3 extension sg_account is a comprehensive tool for creating profiles in the frontend of a TYPO3 site and for managing user accounts in the backend. In the backend module Frontend Users, backend users can manage the profiles created on the website. The plugins or account content elements make it easy to create all important areas for users in the TYPO3 backend. This TYPO3 extension is a convenient solution for admins and editors as well as users, and even allows several account areas to be used on one page. This means, for example, that profiles can be created in the shop area independently of the blog area. Depending on the area, users only have to provide the necessary information to create an account.

Backend Module: Frontend Users

The Frontend Users module is used to manage users of a page. The module lists all frontend users who are registered. These can be easily filtered and searched, for example, if you need to find certain users in the list.

The tool also allows you to create new users in the back end or deactivate or delete existing accounts. Editing frontend users is self-explanatory. Nevertheless, we will show you here in detail what you need to keep in mind. For test purposes, you can log in with a specific user in the frontend via the module. Furthermore, the data can be exported as CSV files.

When you are on any page in the backend and select the Frontend Users module, you will most likely get the view as shown in the screenshot. To edit frontend users, you must go to a page or folder in the page tree that contains these records.

The folder where the records for the created profiles are stored must be created and configured by yourself. This happens when integrating the sg_account extension, which includes this backend module, the account plugins and many other features.

Overview

In the Frontend Users module, users that are created within one page are listed. The profiles can be filtered and searched by user group.

For each individual user record, there are the same editing options available. Some options are always visible: edit, enable/disable, delete and show user in frontend. Further options become visible by clicking on the three dots: display information, display change history/un-do, new record.

Edit Frontend User

Tab General

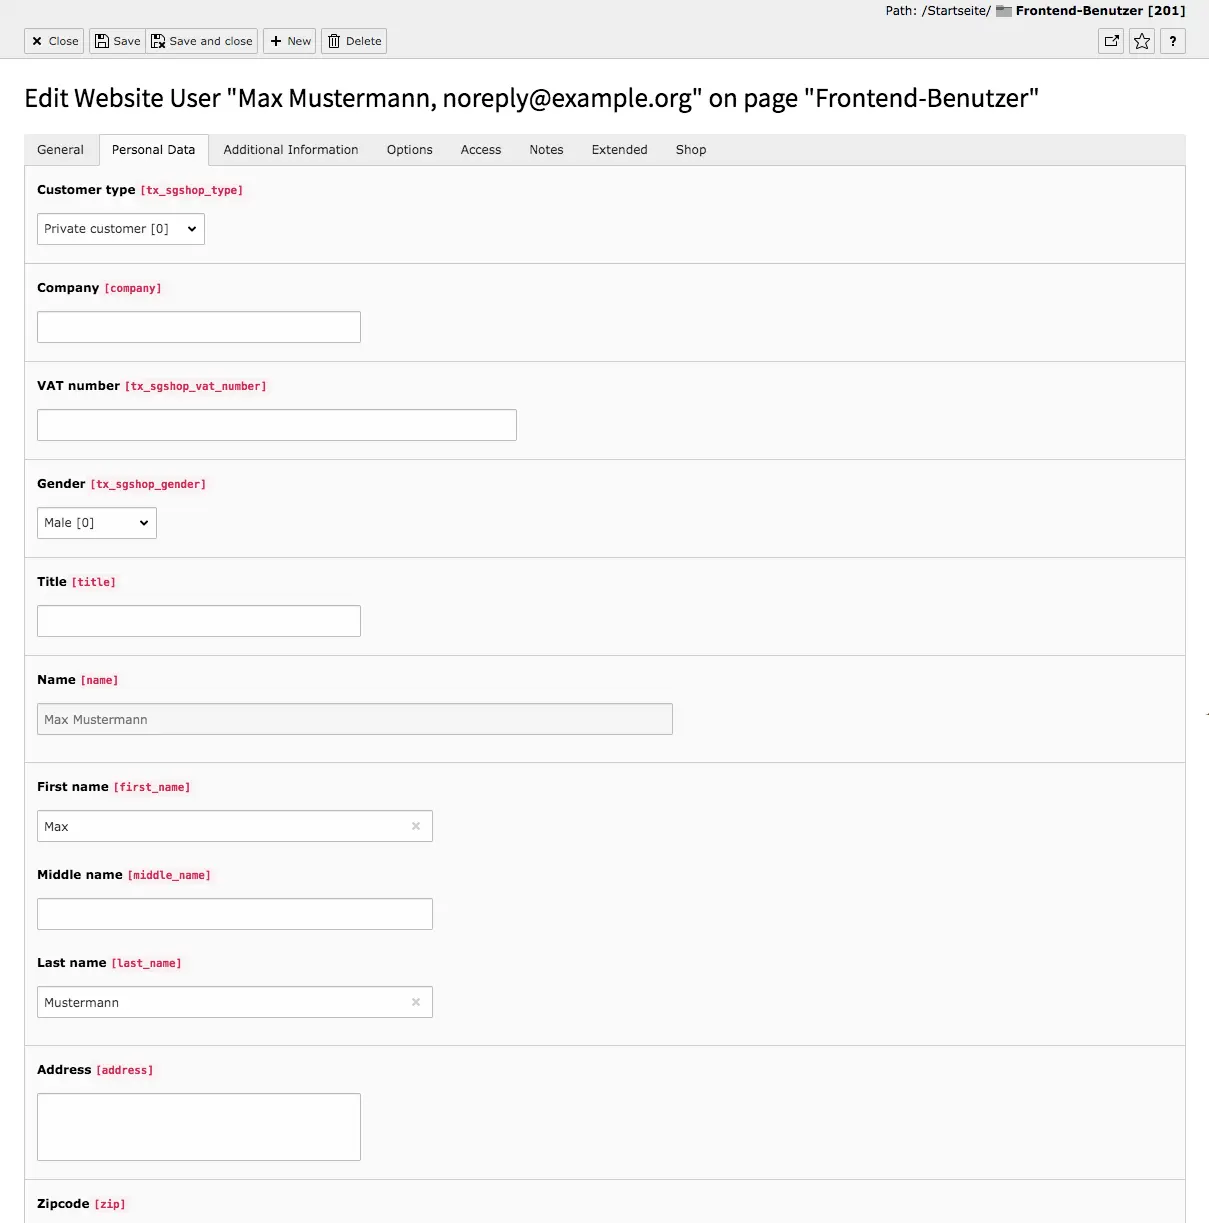
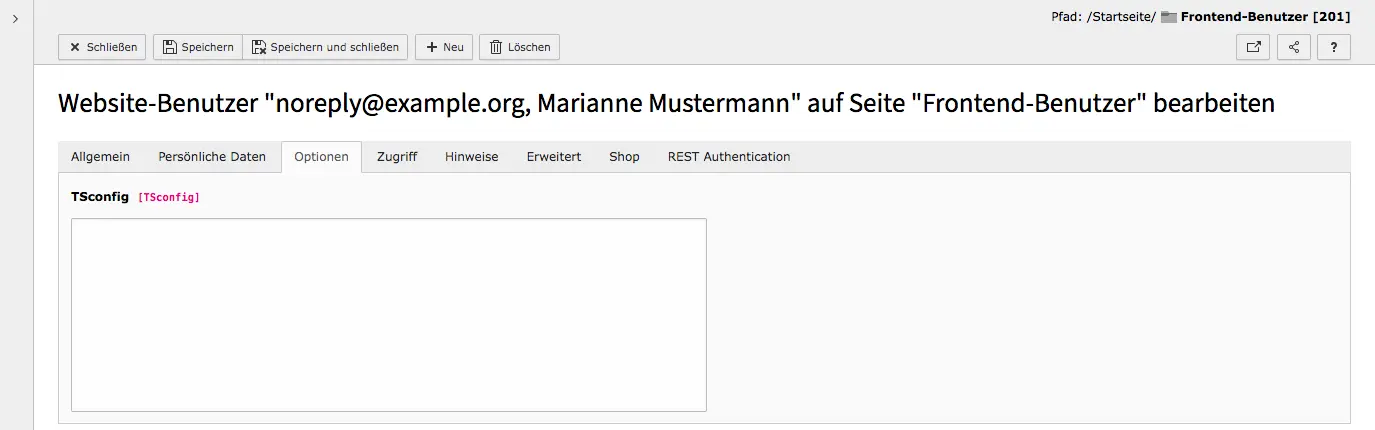
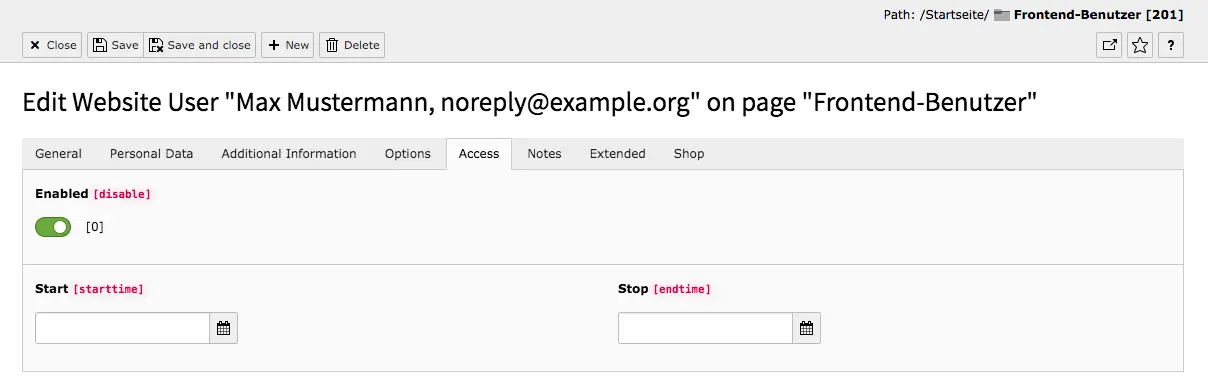
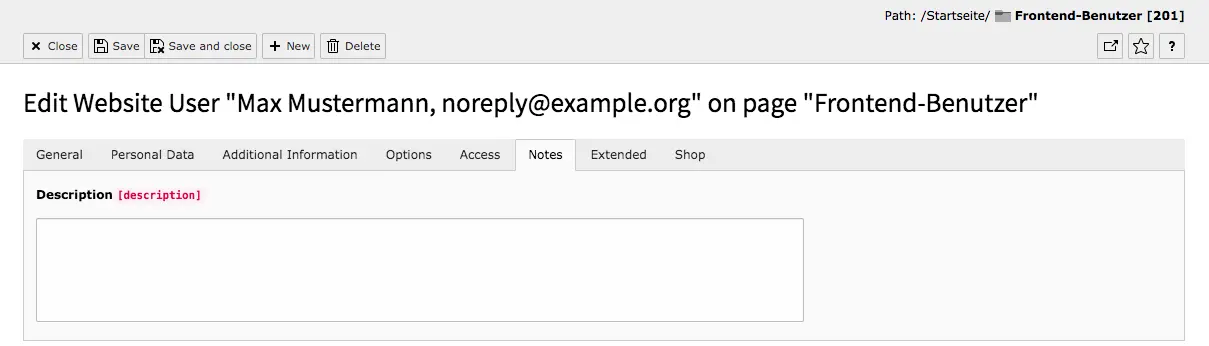
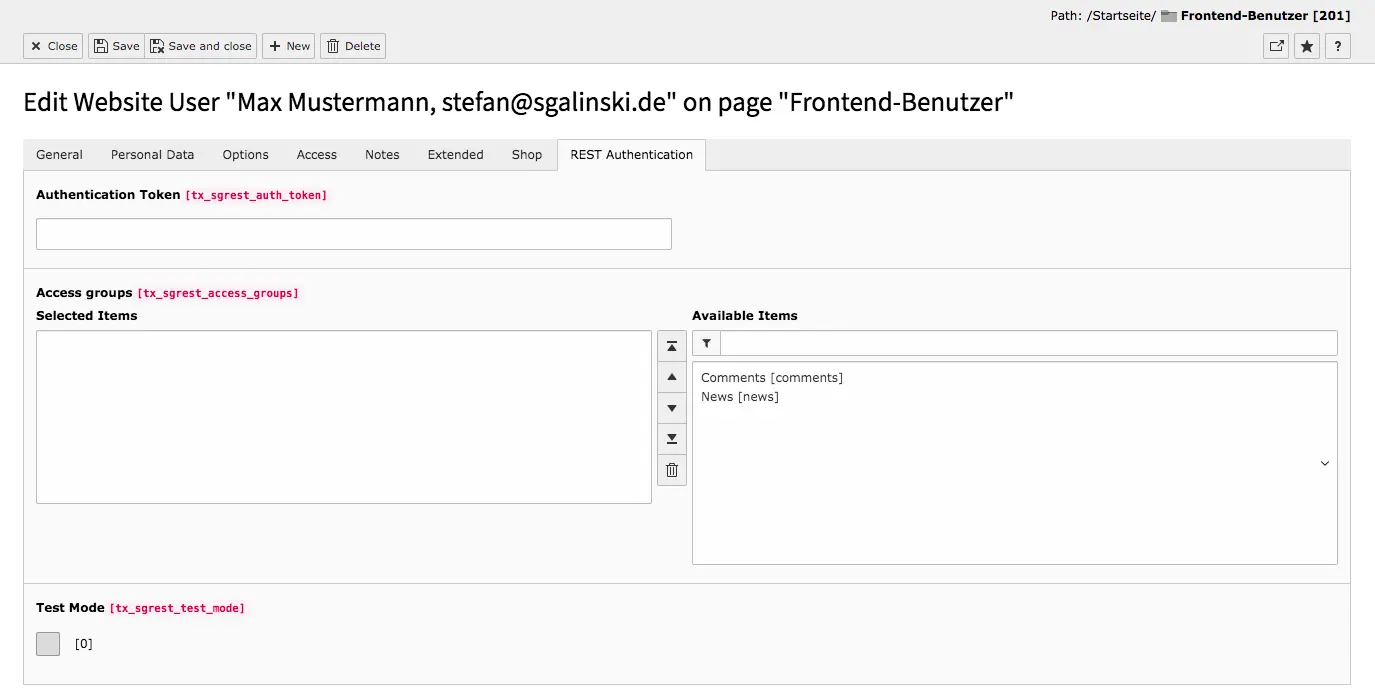
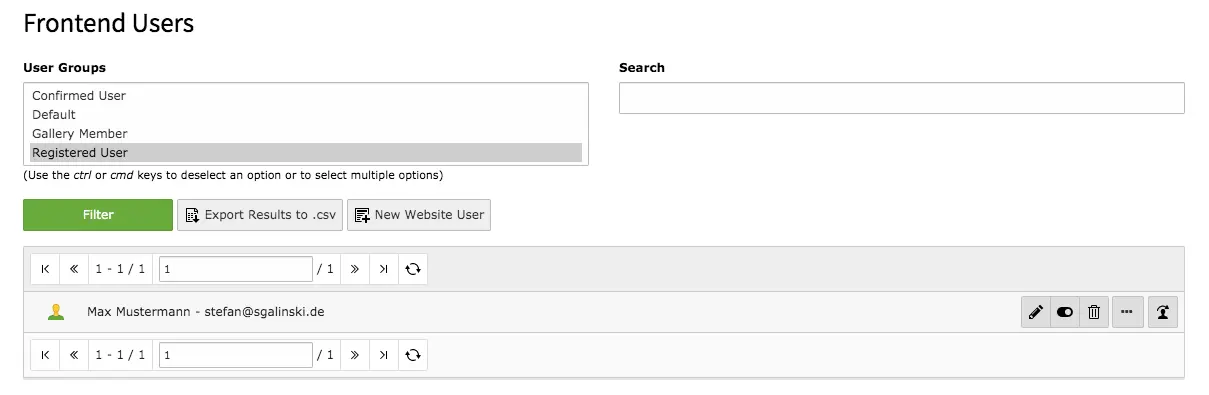
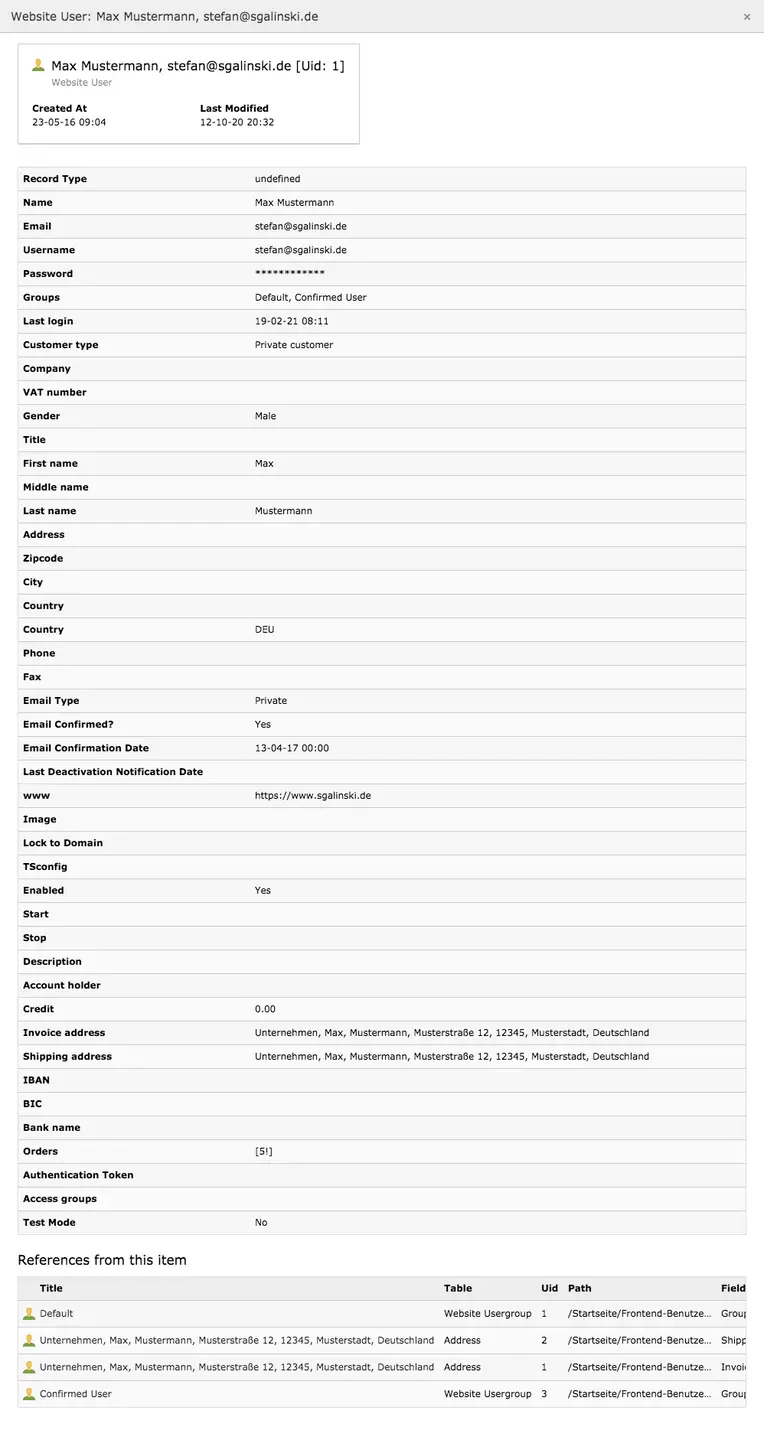
As soon as you enter the editing mode of a user record, the General tab appears. There you can see the username (email address), password (encrypted), available and selected user groups and the date of the user's last login.

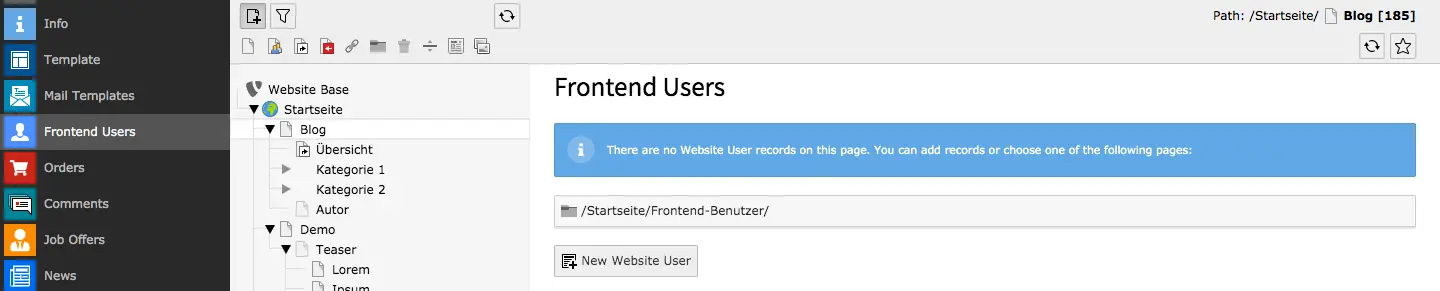
You create and manage user groups in the list module. You add a new user group by clicking an icon in the list to create a new record. The lowest category, System Records, contains the record Website Usergroup. Select this if you want to create a new user group.

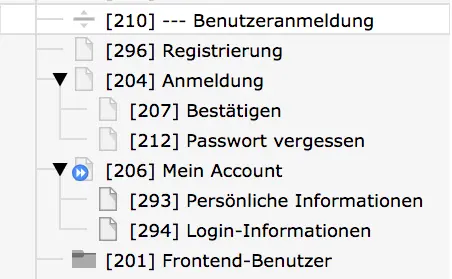
Ideally, the frontend users and user groups should be located in one place in the page tree.

Tab Personal Data

The fields of this tab are self-explanatory. All personal data such as name, phone number or user's address can be found here. Missing information can be added at any time.

Tab Options

In this tab you can make further adjustments using Typoscript in the TSconfig field.

Tabs Access, Notes & Extended

These three tabs do not normally need to be edited.

Access

As you are already familiar with pages or page content, you can also control user Access. A user can be enabled/disabled and a start or stop date can be set for the user. By entering start and stop you define a time period in which the profile is active.

Notes

You also know this tab for example from content elements. Leave Notes/messages for other editors or for yourself.

Extended

Specify the record type here.

Tab Shop

The fields of the Shop tab are self-explanatory. Here you can find addresses and account information. Invoice and Shipping address can be folded out and in independently.

Tab REST Authentication

There is no need to use this tab in connection with the frontend user module and the sg_account extension. REST Authentication is a tab that belongs to the sg_rest extension.

Configuration Management

The Frontend Users module has a second functional area: Configuration Management. Here, configurations can be created, which can then be used in the account content elements to use account plugins for various page areas. However, the configurations themselves can currently only be edited directly in the file and not in the module.

Content Elements: Account

The account content elements generate fields and content in the frontend, which are mainly available to registered users. Users can use these content elements to view, edit and customize their account or first create an account.

The General tab corresponds to the content element Header Only. The decisive tab when configuring the Account Plug-Ins is the Plug-In tab.

For the login area and all other associated pages, you create individual pages in the same way or similar to our Website-Base. Each page contains only one account plugin - in addition, you can place other content elements on the pages to design the pages according to your wishes.

Since you have to refer to other account pages in the account plug-ins in some cases or use them as a record collection, you should create all necessary pages before creating the plug-ins.

To save the account data, a folder like the one shown in the screenshot has to be created (this happens with the configuration of the extension). Both the module and some account plugins access the folder.

On our preview page, all TYPO3 content elements presented here are also built in. Here you can practically try out how the account elements work: Register for it with your email address or simply log in with a social media account and see how easily users can customize their account information.

Edit Account Content Elements

Implementing the account plugins is very simple - editors only need to consider a few things. Most account content elements have a dropdown menu in the plugin options, where you can select the configuration for the account plugin or the area in which the account element should apply. This makes it easy to create different account types for different areas on a page. For example, users would have access to fewer fields in a simple membership area than accounts in the store area, where such information as an address is absolutely necessary, while in other areas this information is not important.

Account Overview

The account overview offers a user a complete overview of his data. A distinction is made between login data and personal information. In order for the plug-in to work, two additional pages must be created that contain the corresponding information.

Tab Plugin
"Edit Personal Information"-Page & "Edit Login Information"-Page

The selected page should contain the Plugin 'Edit Account'. To do this, create two sub-pages in the page tree below the Account Overview: On one page you should create the 'Edit Account (Only Personal Fields)' plugin and on the other page you should create the 'Edit Account (Only Login Fields)' plugin.

Prevent confirmation forwarding

When this option is enabled, the confirmation code from confirmation emails is only used to confirm users. This is useful if you have multiple Account plugins on the same page.

Record Storage Page

In this plugin, you do not need to add a page here.

In the page properties, in the Access tab, you should set that the page is not activated in the menus. Also, you should set 'Show at any login' in the access rights for user groups.

Account Overview in Frontend

Edit Account

The plugin Edit Account allows users to adjust their information. For this purpose, a general plugin or the plugins for personal information and for login information are available. Configuring the elements is very easy. Then, after logging in, users can customize their information.

Tab Plugin
View Type

Whether you choose Edit Account when adding the plugin or use one of the other two versions (see screenshot) is basically irrelevant. In the Plugin tab, you can adjust the setting at any time. There are three options available:

  • All Fields
  • Personal Fields
  • Login Fields

For the account overview to work, you must create a separate page for personal information and login information. It is best to create the pages for editing the account as subpages of the account overview.

As long as the correct view type is set, nothing else needs to be adjusted within the plugin for it to work.

Edit Account in Frontend

The users can access the pages where they can edit their profile information via the account overview. There they can edit all data at any time.

Reset Password

Everybody is familiar with it and therefore understands why this content element is so important: A password is quickly forgotten, which is why you have to reset it. This account element is also easy to configure, because you hardly have to adjust any settings. As a result, you get a form in the frontend to enter the email address of the account.

In the Plugin tab, you only need to add the folder with the frontend users as a record storage, so that the system can match the entered email address in the frontend with the existing profiles.

Reset Password in Frontend

Login

Anyone who creates a user account on a website wants to log in again later. With just a few clicks you can provide your frontend users with a login form. In the frontend, only the e-mail address and password need to be entered to access the user area.

Tab Plugin

As with all plugins, all important settings are adjusted in the Plugin tab of the login form. This tab has three additional subtabs. In order for the user data to be recognized and for the system to know who is logging in and out, for all three subtabs (Login, Logout and Other) the page or folder containing the list of frontend users must be added to the record collection.

To add a page or folder, click the Page button below the field or the folder icon to the right of the field. In the page tree that appears, simply click on the folder that contains the frontend users. The folder is immediately in the field Selected Items. To remove a selected item, click on it in the list in the field. The object is now highlighted. Now click on the recycler icon to the right of the field. The selection is now deleted.

Login in Frontend

When users want to login to a social media account for the first time, they are first redirected to the respective social media page to be able to log in. Afterwards, users are redirected back to the original page where they complete the registration process. Afterwards, they can conveniently sign in with the social media login.

Register

The Register plugin allows you to easily create the element that allows users to set up a user account. With the account, users can, for example, view access-restricted content or use the shop. Create a separate page for the plugin in the page tree. The account data is stored in the system and can be customized.

Tab Plugin

You can point to the registration page, for example, on the account login page and include a link to it.

Select page to redirect users to after the registration

After registration, you could, for example, redirect your user to a page indicating that the new account should first be confirmed.

Redirect Priority

There are various ways to determine where a user shall be redirected to. This setting overrides the default prioritization.

Record Storage Page

Insert a record collection here if required.

However, in this plug-in you usually don't need to customize anything. With the creation of the element it is already ready for use.

Register in Frontend

After registration, users will receive a message to confirm their email address. For this purpose, you create a separate page with the next plugin, to which users will be redirected when they click on the confirmation link. The template of the automatically generated message can be customized in the Mail Templates module.

Email Confirmation

As the only account-related plugin, you will find the email confirmation not in the group of account content elements. In order to add it, a General Plugin must be created first. The content element allows you to register and confirm an account using the double opt-in procedure.

Tab Plugin

Create a separate page for the email confirmation and disable it in the menus in the page properties in the Access tab. By creating the plugin and adding the folder for frontend users as a record storage, the page is ready for use.

Email Confirmation in Frontend

When users click a valid link to confirm your email address, you will be redirected to the page where this plugin was created and you will see the page shown in the screenshot without the notice. If the link is no longer valid, the notice appears by default.


Would you like to know more?

All information about the available editions can be found on the webpage for our TYPO3 Website-Base. You have the possibility to get a Website at a Fixed Price or you decide for a Website as a Service package, with which no further costs for hosting or security and function updates will come up to you.