

NEW: SG AI – Your AI Assistant for TYPO3 – SEO, (image-)text, images & more!
Typical page content
Some content elements are used more often than others - the most frequently used content elements can be found in the Typical content element group. When adding new elements, this group is displayed first by default.

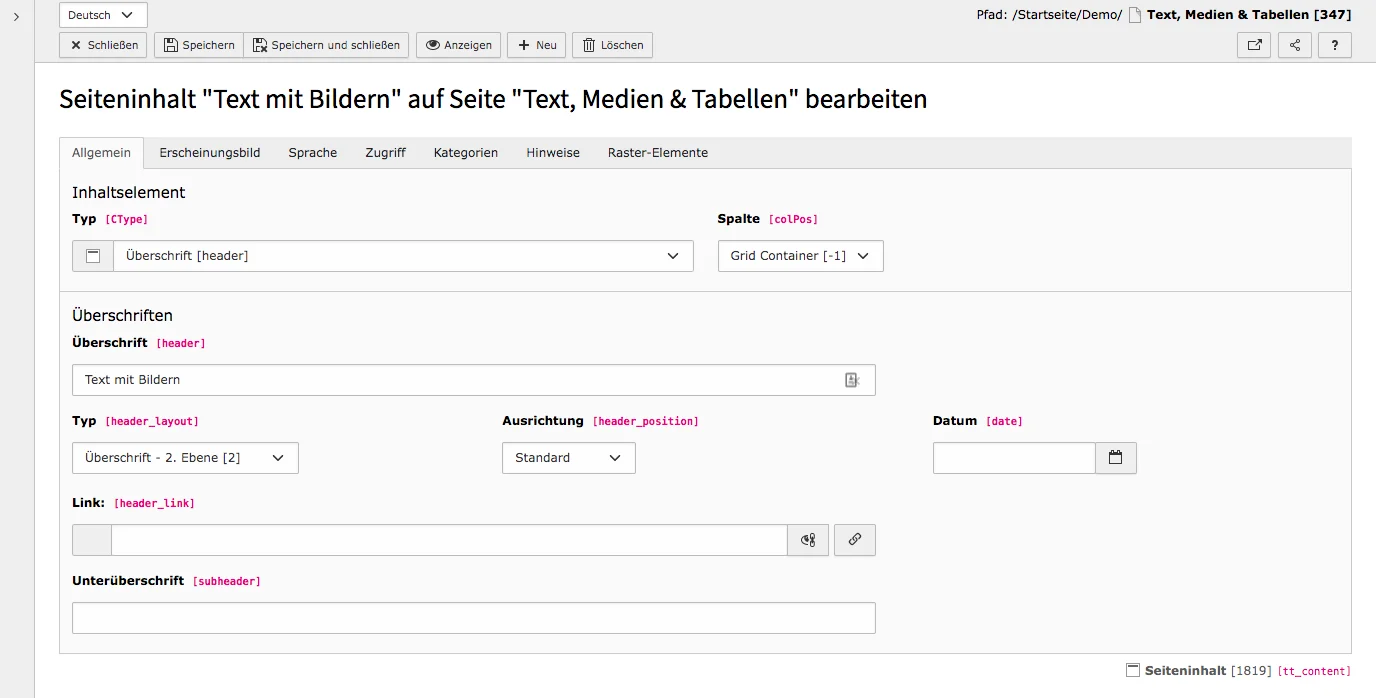
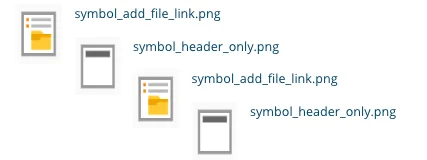
With the content element Header Only, you can insert a heading, just as the name says. You can use different heading formats to structure content and make it more accessible to the user. And in the backend you get a better overview by using headlines yourself.
Available fields
- Header: Enter the heading in this field.
- Type: Select a heading format/level and use it to structure content. For comprehensibility and structure of texts on websites, each page should only contain one H1 header and other headers should be structured logically, e.g. H2 header – H3 header – H3 header – H2 header. You should also adhere to the correct order of headings in terms of SEO.
- Type (visual): Regardless of the actual heading level, a different heading layout can be set if required. This can then be seen in the frontend, even if a different heading level has been set.
- Alignment: Specify the alignment of the heading.
- Date: If a date is selected here, it appears under the heading (and subheading).
- Link: In this field you link the heading (internal or external).
- Subheader: A subheading appears below the main heading in the next smaller heading format.
- Content Element Link: The entire content element is displayed as a link.

The content element Text & Media is used especially often when editing a TYPO3 page. With this element you simply insert body text with images and headings. The Rich Text Editor (RTE) enables intuitive working with texts. With the Image Editor of TYPO3, images can also be adjusted quickly.
CKEditor (formerly Rich Text Editor)
The General tab contains the same fields as the header element. In addition, you will find the CKEditor (formerly Rich Text Editor) in the lower area. We have dedicated separate manuals for the text editor and the image editor. At this point we will only give a short introduction.
The CKEditor allows intuitive text input, as it is similar to well-known text editing programs such as Word or Pages. You enter a text in the free field and adjust it using the options located above the text field.
Most of the symbols should be familiar. If this is not the case, you can find out the function of a button in the mouseover. To do this, simply stay for a moment with the mouse pointer over the corresponding symbol.

Tab: Media
The Media tab is only found in the content element Text & Media. With the Add media file button, media files (in most cases images) can be selected from the filelist. Before you can add files, they must be uploaded in the Filelist.
Image Metadata
You fill in the image metadata for each image individually. The most important is the alternative text, which can be read by screen reader programs and thus makes your page more accessible for visually impaired people.
- Alternative text: Describe the image so that the text can be displayed if the image cannot be loaded. The alternative text is also important from an SEO perspective.
- Description (caption): This text appears below the image.
- Link: If you insert a link, clicking on the image will take you to the link URL.
- Title: This text appears on mouseover, i.e. when the pointer remains over an image for a longer period of time.
Media Adjustments
Under media adjustments you will find options to adjust all media in the current item:
- Width/Height: If width or height should differ from the original file, the image will be scaled to the specified height/width in the original image ratio.
- Border: Activate/deactivate the border around the media items.
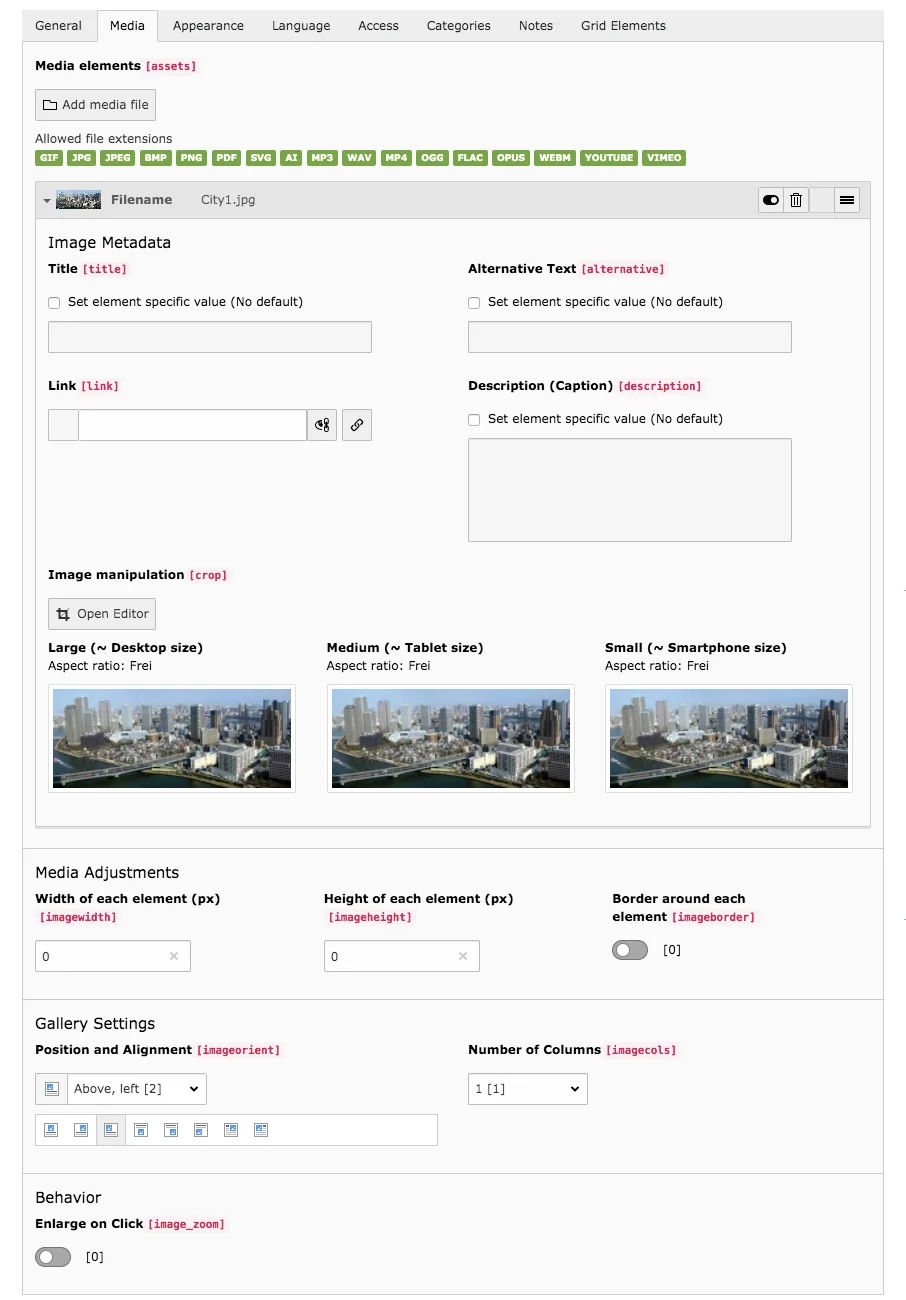
- Position and Alignment: Set the alignment of the image in relation to the text - even if there is no text, it may be useful to adjust the setting.
- Number of Columns: Specifies how many images are arranged in a row.
- Enlarge on Click: Determines whether the image in the front end is displayed enlarged when clicked.
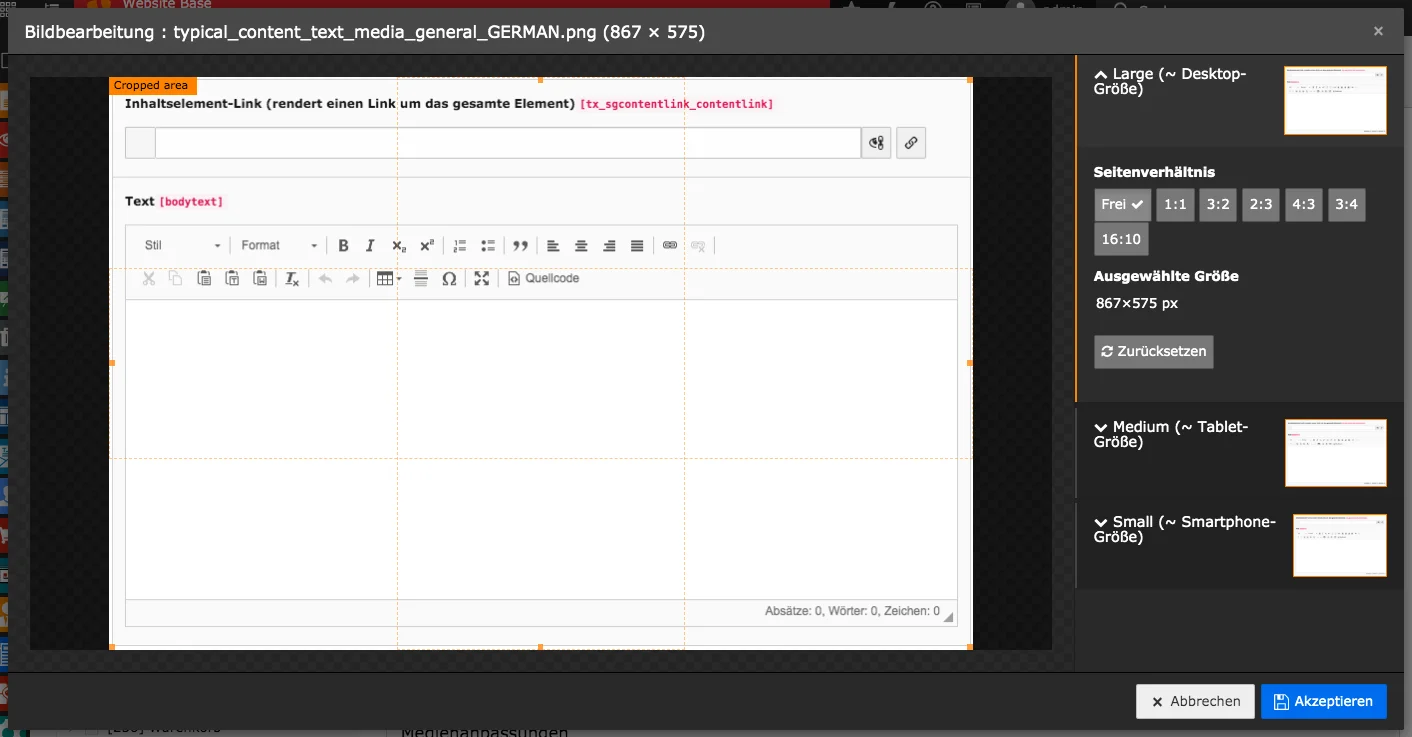
Image Editor
Once you have added a file in the content element, options for further customizing the image appear. You can add alternative text, title and a description to each image and link the whole image.
Below you can open the image editor, which allows you to adjust the section of added images. For more information, see the Image Editor documentation.


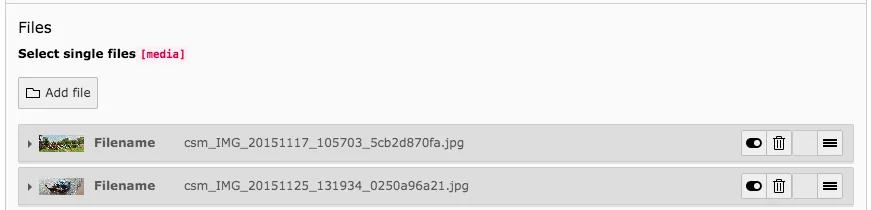
With file links you can create a list of files to download. There are two ways to add files to this content element. You can use a file collection or select files individually for the item. It is also possible to use both options at the same time.
After adding the content element, you will automatically reach the General tab as usual. As with most other content elements, the fields for customizing the heading are located in the upper area. Right after that follow element-specific fields for adding files.
Adding files manually
- Click the Add file button. The file folders are displayed.
- Select a folder in the filelist.
- Select the desired files by placing a check mark to the right of the file name with a left click.
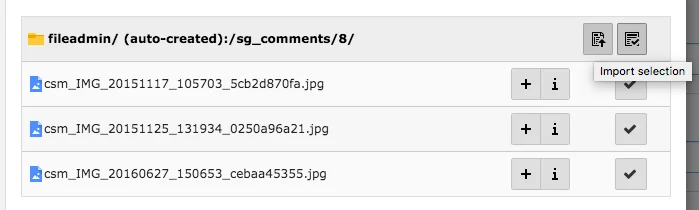
- If you want to select all files, click on the icon to the right of the line in the folder path.
- Click on the Import selection button in the line where the folder path is shown (see screenshot).
- The files are now attached to the content element.
Add files with file collection
Creating a File Collection
You can insert a file collection into an existing page. It is recommended to create a folder in the page tree, so that all file collections are in one place and can be found easily.
The file list is a list element, so you will not see it in the web module. To create a file collection, proceed as follows:
- Click on the folder for the file collection or another entry in the page tree.
- If not already done: Switch to the List module.
- Click on the + button above the content area.
- If a file collection already exists, you can also use the + button in the list for file collections. Then continue with step 5.
- A list with the heading New record appears in the content area. Click on File Collection (under Content). You are now in edit mode for a file collection.
- As a list element, a file collection has several tabs for customization. The General tab is of particular interest to you.
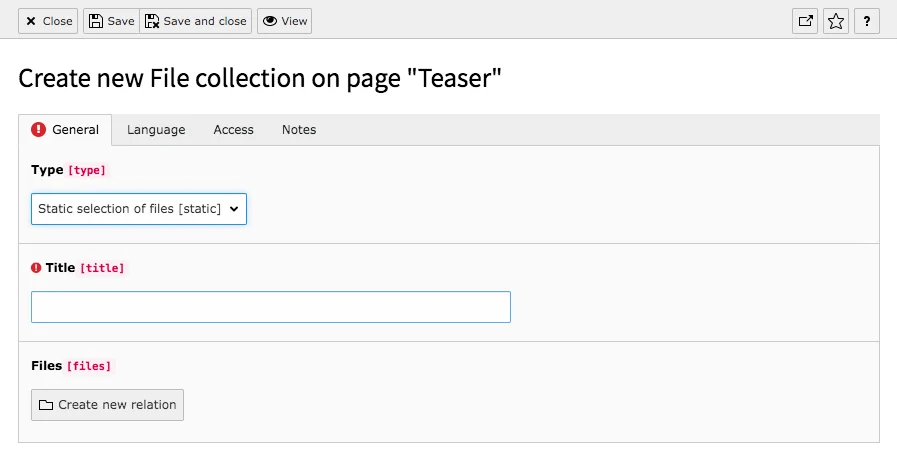
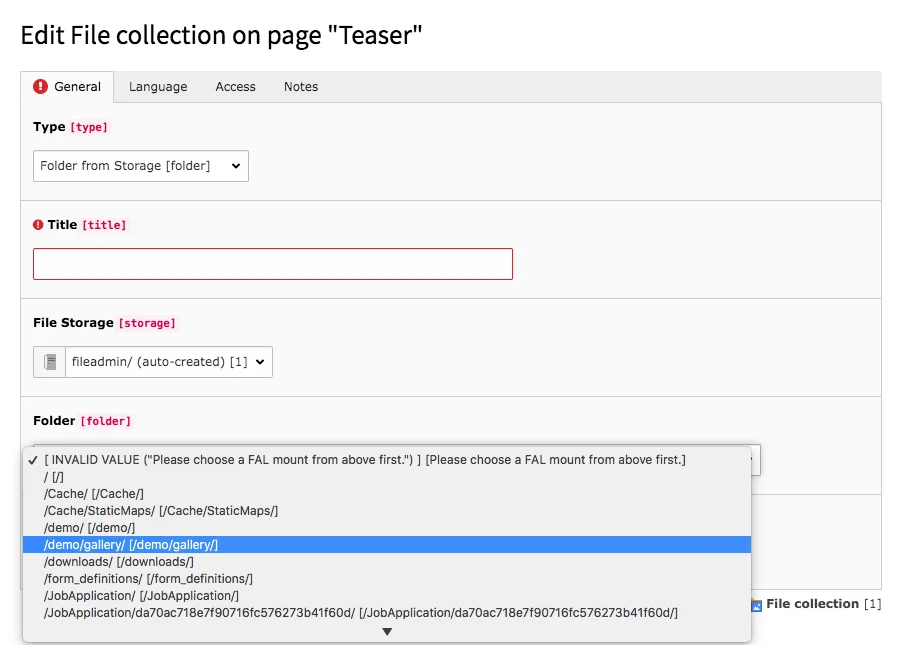
- The General tab is divided into Type, Title and Files. Depending on the selected type, it will differ.
- Select a type:
- Static selection of files: Click on Create new relation, Select file and upload or Add media by URL.
- Select files individually from the filelist or upload them directly.
- Files can come from different folders in the file list. When uploading files directly, the files are stored in the top folder of the file list.
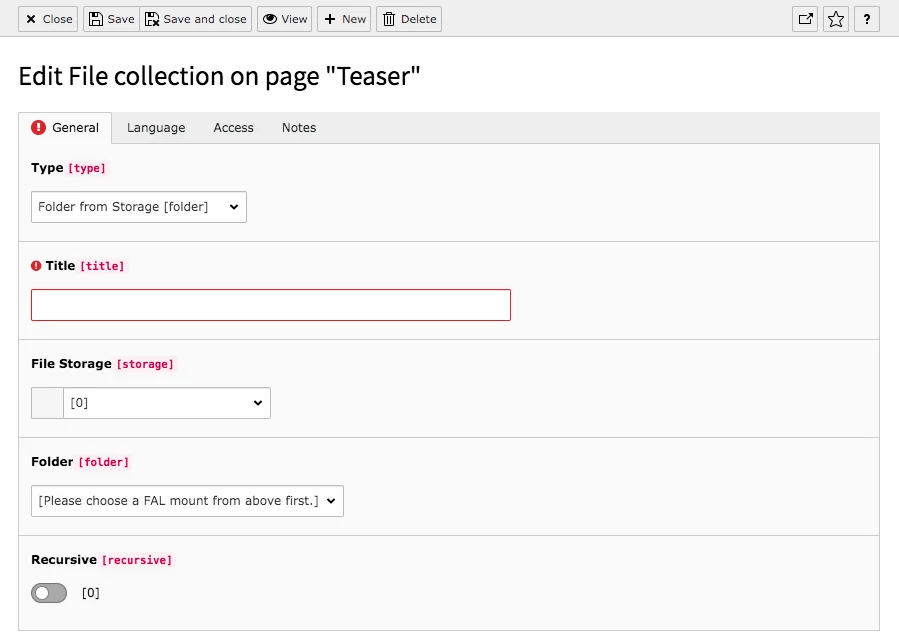
- Folder from Storage: If you have created a whole folder for the file collection, the folder can be used as a whole with this option.
- Select the file storage and a folder from the list that appears when you click the box under Folder.
- If the Recursive option is enabled, subfolders of the selected folder are also included.
- Select by category: Files can be categorized like pages and content items. Only files with specific categories are then included in the file collection.
- Static selection of files: Click on Create new relation, Select file and upload or Add media by URL.
- Save your changes and link the created file collection to the file link content element.


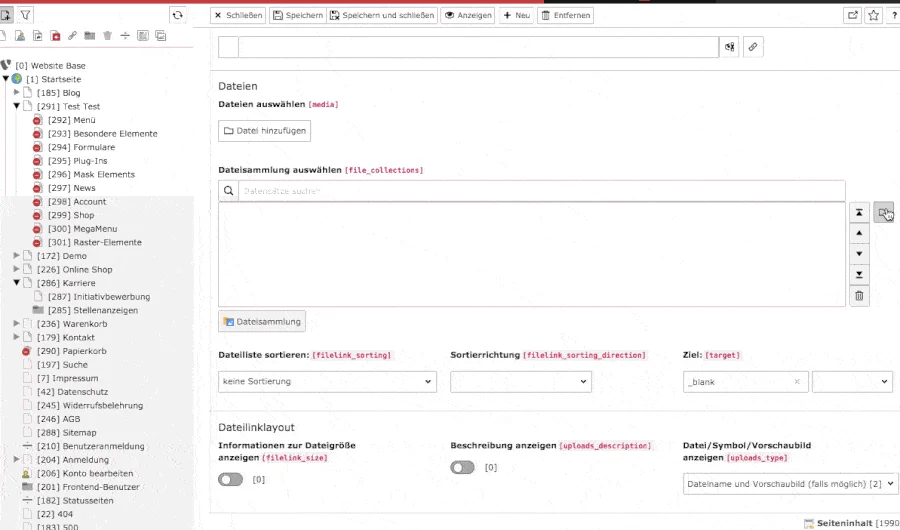
Link file collection to content element
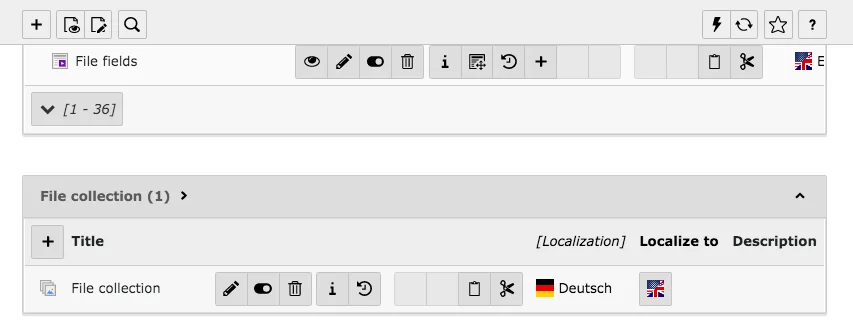
In the Files column, you will find the Select file collections field.
- Click either the folder icon to the right of the field or the File Collection button below the field, as shown below.
- In the window that appears, the file collection is displayed immediately.
- If it doesn't, select the folder or page in the page tree where the file collection is located and click to select the file collection.
- Save the changes.
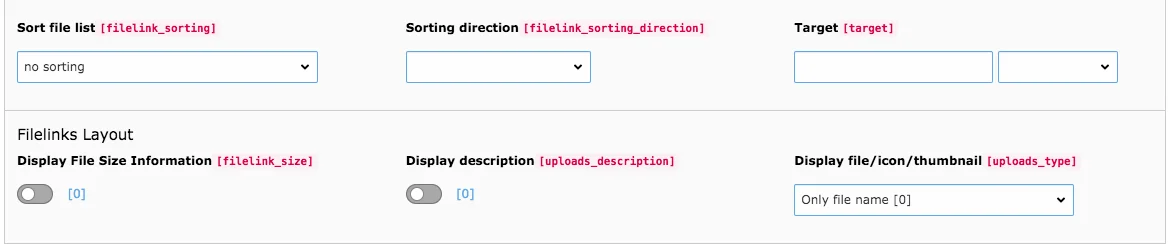
Further settings
You can also set up how to sort files, what other information is displayed and in what form the files are displayed (thumbnail, file icon or just file).
Output in the frontend
Would you like to know more?
All information about the available editions can be found on the webpage for our TYPO3 Website-Base. You have the possibility to get a Website at a Fixed Price or you decide for a Website as a Service package, with which no further costs for hosting or security and function updates will come up to you.
